A good Japanese sushi oke (寿司桶, hangiri) or ohitsu rice container (おひつ) starts long before the workshop. It starts with choosing the logs. This article goes inside KURANOWA, a Japanese maker that does every step in its own factory, from buying the logs to the finished tub.
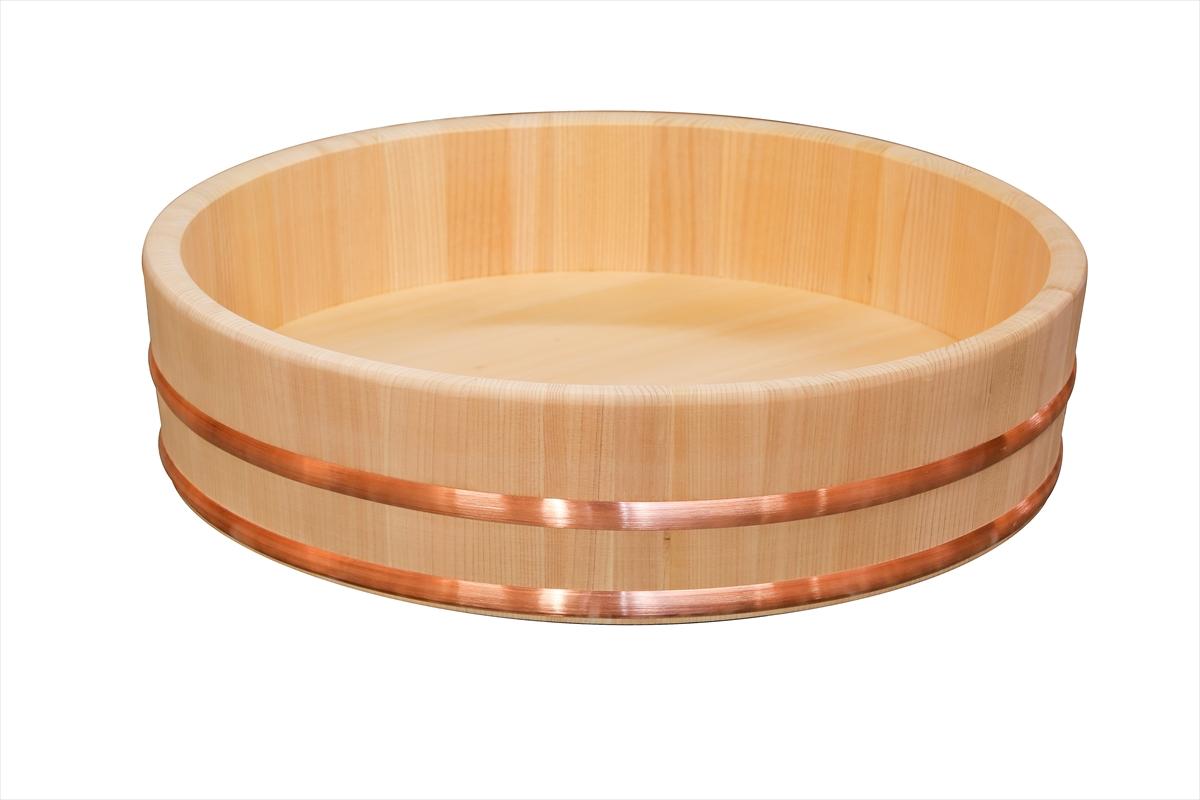
จุดเด่นของถังไม้ตีข้าวจากญี่ปุ่น
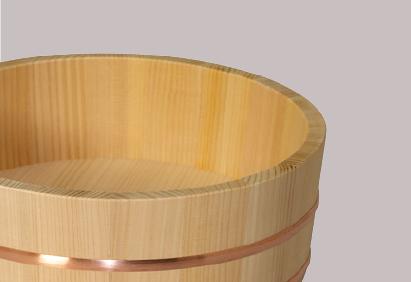
Thick walls and a strong build
Only straight-grain (柾目) red heartwood of Kiso sawara cypress (木曽椹), sawn in-house, for high water resistance and durability
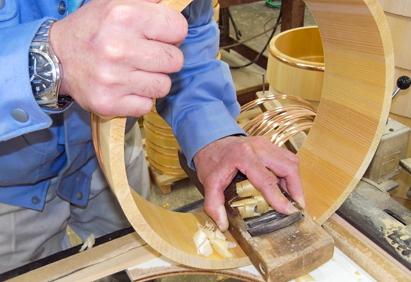
Hand-planed by craftsmen for a smooth wood surface
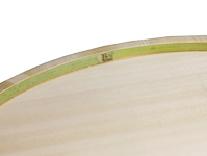
Tubs of 51 cm and larger have bamboo wound around the bottom for extra strength
How it is made, from log to finished tub
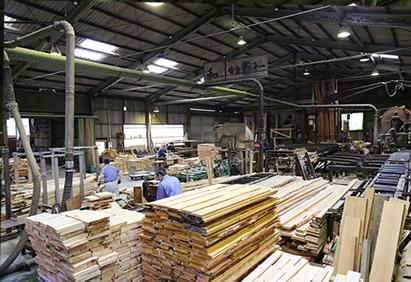
The timber yard
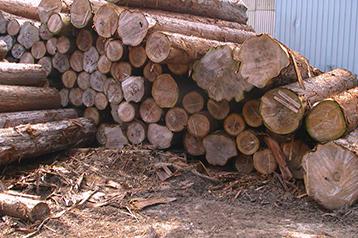
1) Logs from the Kiso valley: Kiso hinoki, sawara and koyamaki
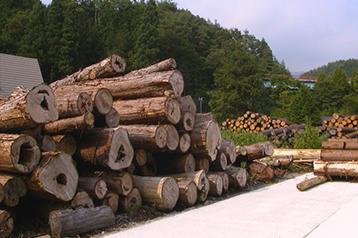
2) Precious timber from trees 100–300 years old
The sawmill
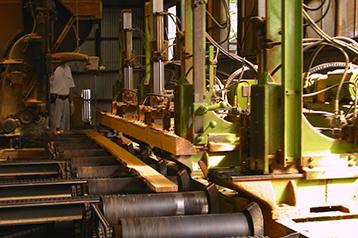
3) Each log is sawn carefully, one by one, to waste as little as possible
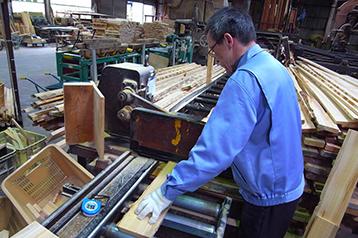
4) The sawn boards are cut to the length needed
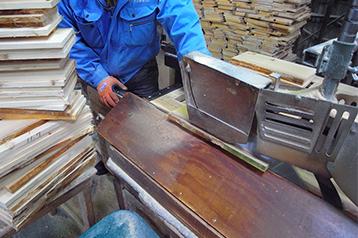
5) Knots and defects are removed
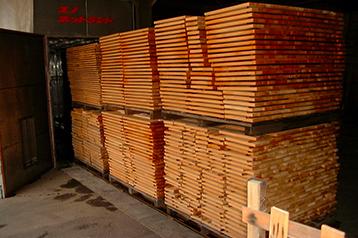
6) The wood is kiln-dried to control its moisture
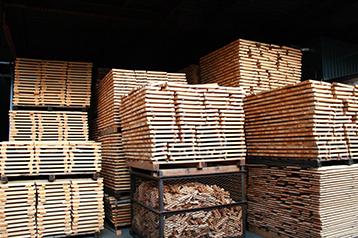
7) After drying, the wood rests naturally for several days
Woodshop ① Building the body
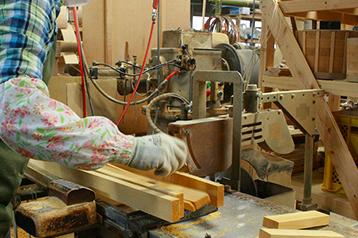
8) Making the side staves, called “koma” (コマ)
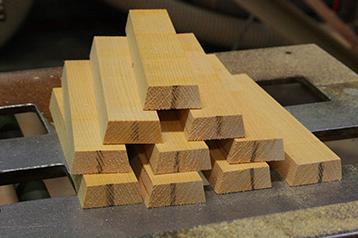
9) Cutting the staves at a precise angle
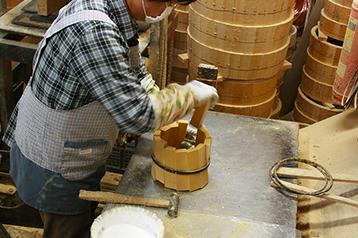
10) Dry-assembling the tub wall with glue
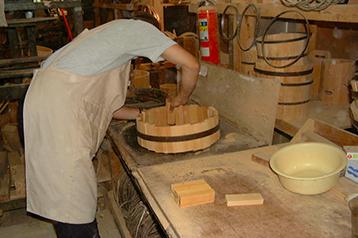
11) Matching color and grain, then assembling
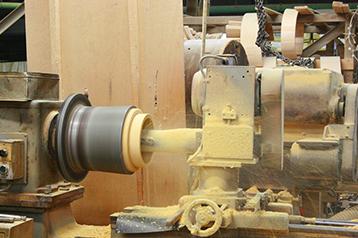
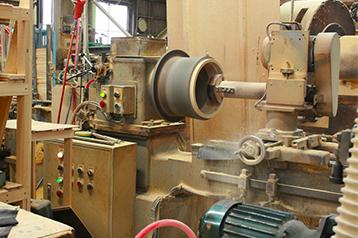
12) Rough-turning the assembled wall on a wood lathe
Woodshop ② Shaping and hooping
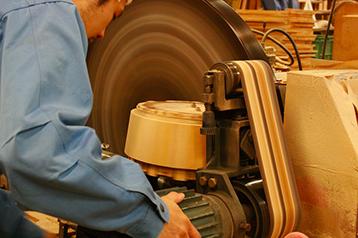
13) Shaping the outside with a rotating disc fitted with plane blades
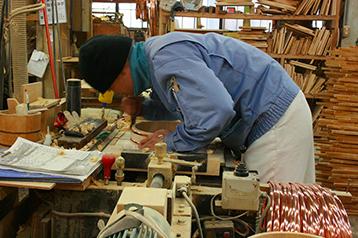
14) Compressing the tub and fitting the hoops (taga たが)
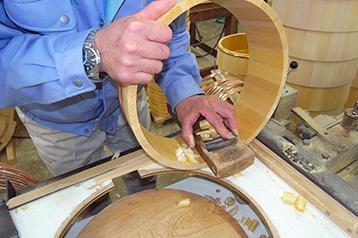
15) Hand-planing for an even smoother finish
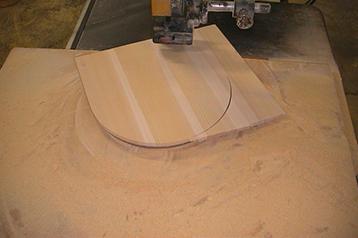
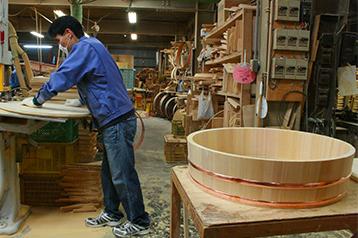
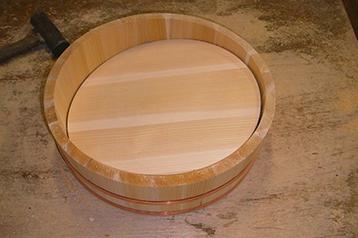
16) Cutting the bottom board into a circle to fit the tub
Woodshop ③ Fitting the bottom and finishing
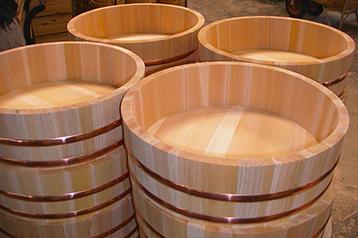
17) Pressing the bottom board into the tub
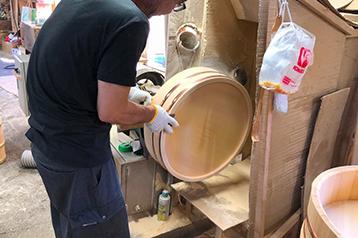
18) Polishing on a lathe (rokuro ロクロ)
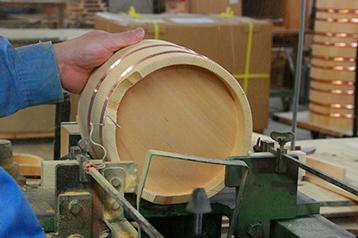
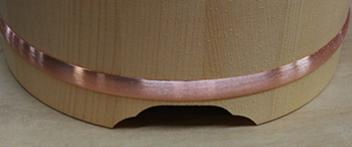
19) Ohitsu get carved feet and decoration
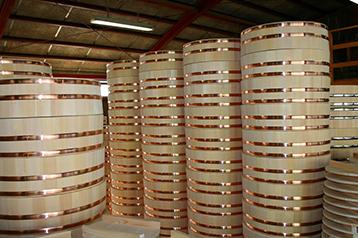
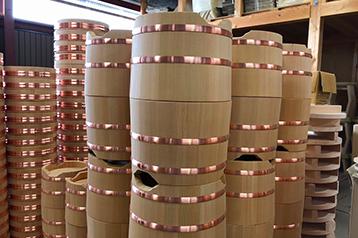
20) The sushi oke and ohitsu are finished